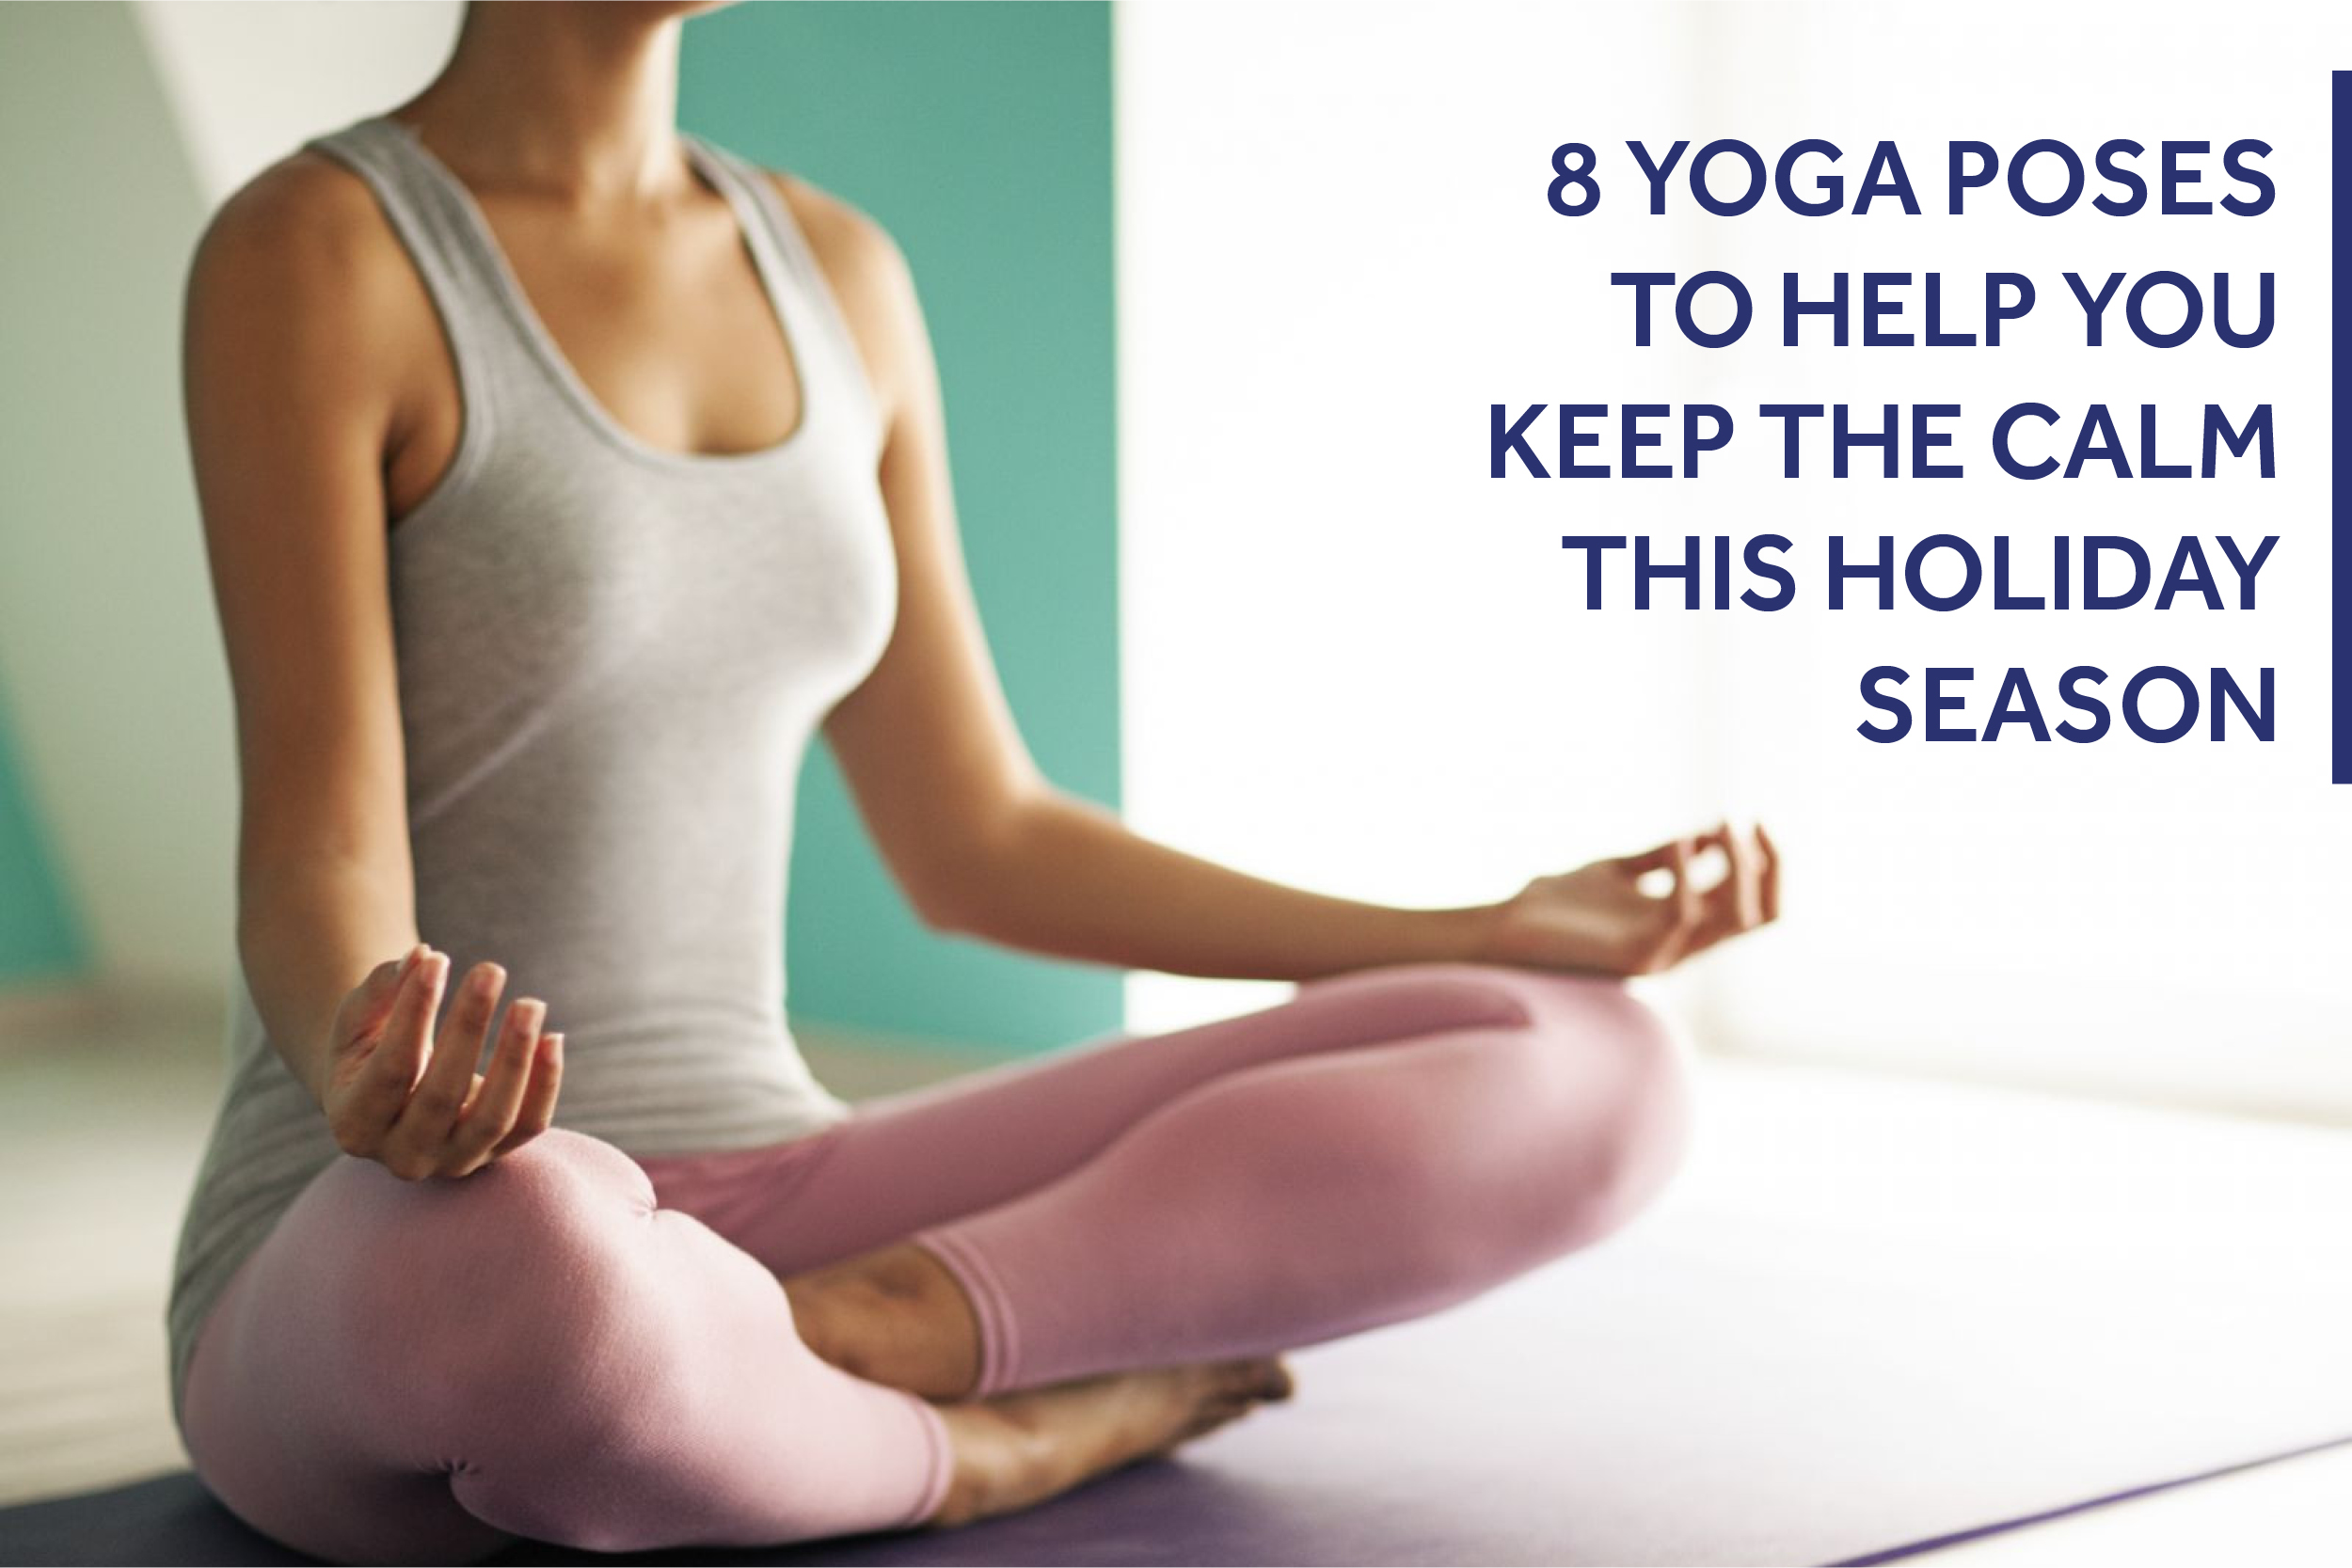
8 Yoga Poses to Help You Keep the Calm this Holiday Season
Oh, the weather outside is frigid, and your body might be feeling rather rigid… from all of the stress and over-stimulation that comes with the holiday season whirlwind. It’s important to make space for your mental and physical well-being during this busy and demanding time of year, and one way to do this is by practicing yoga. Whether you're a seasoned yogi or just starting your journey, incorporating these calming yoga postures, also known as asanas in Sanskrit, into your routine can work wonders for your mental and physical health. These yoga poses serve as a gateway for tranquility and can help you release tension, feel a sense of lightness, and move more easily. Whether you’re an individual looking for a tool to aid in supporting your stress management during your treatment journey, a caregiver, or family member, yoga is for all.
Roll out your mat, light a candle, and get ready to melt your stress away with these relaxing yoga poses. Oftentimes, it’s the simplest postures that have the most profound benefits.
8 Yoga Poses for Relaxation:
- Standing Forward Fold (Uttanasana):
Practicing a standing forward fold allows you to experience a deep stretch along the back side of your body and helps with calming the mind by activating your body’s relaxation response (your parasympathetic nervous system) and deactivating your body’s stress response (your sympathetic nervous system). This pose also lengthens the lumbar spine, which can help counteract pressure in the lower back. The posture also helps to release tension in the shoulders and neck more easily.
How To Practice:
- Stand with your feet hip-width distance apart at the top of your yoga mat, grounding into all four corners of the soles of your feet. Place more weight on the balls of your feet than your heels.
- Take a few deep breaths in and out of the nose to ground yourself.
- Bring your arms up and over your head and swan dive into your forward fold, gently bending your knees on an exhale and hinging your hips to fold your torso down and over your thighs. Let your head and arms hang heavy. Grab opposite elbows to feel a deeper stretch.
- Hold this pose for 5-10 breaths (about 30-60 seconds), inhaling to lengthen your spine and exhaling to straighten your legs and lift your kneecaps.
- To release this pose, slowly roll up one vertebrae at a time; your head should be the last to lift.
- Child’s Pose (Balasana):
Child’s pose is a restorative pose that helps release tension and tightness in the lower back, hips, and thighs, which helps with relaxation, calming, and grounding for your mind and body.
How To Practice:
- Start in a Table Top pose with your hands and knees on the ground. From Table Top, exhale your hips back to your heels and forehead to the floor. You can keep your knees together or slightly apart, depending on what’s more comfortable.
- Keep your arms long and extended, with your palms facing down. Lengthen your body from your hips to your armpits, and then extend even further through your fingertips. If you’d like an even more restorative pose, bring your arms back alongside your body.
- Hold this pose for 3-5 minutes, allowing your heart to melt to your mat.
- To release, gently use your hands to walk your torso upright and sit back on your heels.
- Banana (Bananasana):
If you’re looking for a pose that lengthens both sides of your body, look no further than the restorative Banana Pose. This pose allows your spine to experience a side bend from the IT band to the tops of the side rib cage and stretch the oblique stomach muscles and the side intercostal muscles between the ribs.
How To Practice:
- Lay flat on your back with your legs straight and arms overhead. Let your body be heavy on the mat.
- Start with your right side. Move both of your legs to the right and cross your right ankle over your left ankle to keep your left foot in place.
- Let your left hip shift slightly further to the left and bring your upper body to the right, allowing your spine to bend to the right side. Use your right hand to clasp your left wrist and pull your left arm to the right.
- Hold this pose for 3 to 5 minutes.
- To come out of this pose, slowly bring your body back to the center of your mat in a neutral position and take a few breaths in Savasana before you repeat on the opposite side.
- Broken Wing:
Broken Wing pose helps release tension or stress stored deep in the fascia (supportive connective tissues along with ligaments and tendons) of your shoulders or hips. This pose also targets the opening of the pectoral muscles.
How To Practice:
- Begin by laying on your chest and stomach with both arms extended long like the letter T.
- Place your right hand on the mat near your right shoulder. Bend your right knee and place your right foot on the outside of your left leg.
- Slowly push into your right hand and open your body toward the ceiling. This pose will generate a deep stretch along the inside of the left arm and chest.
- Breathe deeply, inhaling and exhaling through the nose, and hold for 3-4 minutes.
- To come out of this pose, slowly roll back onto your stomach and rest for a few moments before repeating on the opposite side.
*Avoid this pose if you’ve had shoulder surgeries or injuries.
- Supported Fish Pose (Matsyasana):
Fish pose is a relaxing heart-opening pose and gentle back bend that helps to stretch the thoracic region. This pose can be practiced with or without props. When props like blocks or a small bolster are integrated, it allows the body to fully relax the muscles. Some benefits of practicing the Supported Fish pose include stretching the intercostal muscles between the ribs and the muscles and fascia of the chest, shoulders, abdominals and neck. Fish pose can also help to improve posture and flexibility in the spine, acting as a counterbalance to the posture held when rounding or hunching over.
How To Practice:
- Begin by sitting on your yoga mat with your legs extended in front of you. You’ll need two blocks.
- Place two yoga blocks behind you. One block should be placed under the bottom of your shoulder blades, aligned vertically with your back on the medium height to lift your chest and deepen your backbend. The second block should be placed horizontally at the tallest height behind your head. You can play around with different variations of placement to see what feels most comfortable for you.
- Slowly move your upper body toward your mat and let your head and shoulder blades rest on your blocks. You can bend your knees and place both feet on the ground or open your legs into a butterfly position if that feels more comfortable.
- Let your arms open out to each side and rest on the ground.
- Hold for 3-5 minutes while focusing on moving your breath toward your chest and ribcage.
- To come out of this pose, use your elbows to gently lift your head and return to a seated position.
*Avoid this pose if you have a neck injury or a history of neck or lower back issues or suffer from glaucoma or untreated high blood pressure.
- Supported Bridge (Setu Bandha Sarvangasana):
Supported Bridge pose is a restorative pose that helps stretch the hip flexors and expand the chest, helping the body to relax. It also provides an opening for your heart, chest, shoulders, neck, and throat, which can help relieve tension or pain in the back muscles or other muscles in this region.
How To Practice:
- Make sure you have one or two blocks close by for support. Lie on your back with your knees bent and feet on the mat, hip-distance apart, arms by your side, palms down. Try to get your feet as close to your glutes as possible.
- Inhale to lift your hips up into a bridge shape, pressing firming into your hands and feet for support.
- Place your block underneath your pelvis, not your lower back. It should be placed horizontally on the medium height for support. Let your hips slowly reach the block, relaxing into the pose.
- Hold for 3-5 minutes. Be sure to keep your gaze straight toward the ceiling, and don’t turn your head to either side while in this pose.
- To exit the pose, lift your hips off the block. Remove the block and set it aside. Extend your arms out overhead, slowly roll your spine down onto the floor, and rest here for a few breaths.
- Legs Up the Wall (Viparita Karani):
Lying with your legs up the wall helps to calm your vagus nerve, activating your parasympathetic nervous system, which helps to calm and relax the mind and body. During this rest and digest state, let your breath slow down and allow your body to enter a state of deep relaxation.
How To Practice:
- You can practice with your yoga mat up against the wall or even lay in your bed if it’s facing a wall. To begin, sit on your mat or bed facing the wall and position yourself to lie down with room to stretch your legs up the wall.
- Lift your legs up the wall and maneuver them into a comfortable and supported position.
- Focus on your breath with deep inhales and exhales. Hold for 5-15 minutes.
- To come out of this asana, slowly bend your knees toward your chest and roll to one side.
*Avoid this pose if you suffer from glaucoma or untreated high blood pressure.
- Corpse Pose (Savasana):
Savasana is a relaxing pose that can help calm the mind and reduce stress.
How To Practice:
- Start by laying on your back with your spine in a straight line, feet and legs separated, and arms resting out to the sides with palms facing up.
- Close your eyes, enter stillness, and let your mind and body relax.
- You can place a block on your pelvis, a heavy blanket on your chest, or a small cloth or towel over your eyes.
- Hold for 5-15 minutes.
- To come out of this posture, slowly bring awareness to your body by slowly moving your hands and feet. Slowly move to one side and sit up.
Proper form and technique are essential to ensure the safety and effectiveness of a yoga practice. If you have a previous or pre-existing health condition, consult with your physician before practicing yoga. Yoga poses may be modified based on your individual needs. As always, listen to your body’s needs and avoid anything that causes pain.